Monday, 4 February 2013

Jeanette's Finished Downton Abbey Embroidered Picture


Jeanette is working on a selection of pages for an Embroidered Book.
This is the Downton Abbey front page. She is now working
on the reverse of it, the interior of a 'Country House'.
Jeanette's work is a layered and complex work of embroidered art.
See more of her work by clicking on the written labels below.


A Girls Day Out Quilt


Hellen has been working on this beautiful embroidered quilt called,
"A Girls Day Out". It was made block as you go and came
in kit form each month.
It is such a work of art.
Go HERE for pattern.

Helen's Bags


As you can see it's been Bag Inspiration Week.
I love the Owl Bag, apparently he is been in the making for
quite sometime and the snow gave Helen the opportunity to finish
him. Isn't he great?

Jenny's Sampler Quilt


Jenny has been making a block a week of this enhanced Sampler Quilt,
made with a Moda Jelly Roll.
Jenny is making it for her Grand Daughter.
The colours are really fantastic and is going to be a timeless Quilt.
See more quilts on my portfolio site

Also see more by clicking the written links below.

Sandra's Bags


I encourage 'Show and Tell' at sessions and Sandra showed us
all her bags she had worked on due to the snow.
They were all different and made for different
people.
Well done Sandra! They are fantastic.
I particularly loved the Cherry Bag with the matching purse
and The Cath Kidson bag made from a kit.
See more bags by clicking the written tags under this post.

Friday, 1 February 2013

Carol' Embellishing


Carol has been busy using her Embellisher Machine she got for Christmas.
I introduced Carol to the Embellisher Machine at Textile Tuesdays and on the 
Level One Creative Textiles Course. 
She has just taken off and made the skill her own.
Using the Embellished fabric as a base 
she then adds machine stitch and lots of
embellishments like beads, sequins, buttons and additions.
These additions often take the form of melted plastic and papers!
We do have fun recycling!
See more of Embellishing work by clicking on the written labels below.

Beryl's Bags


As some of you know who follow Quilters Cottage Norfolk
I love making bags and encouraging others to make bags.
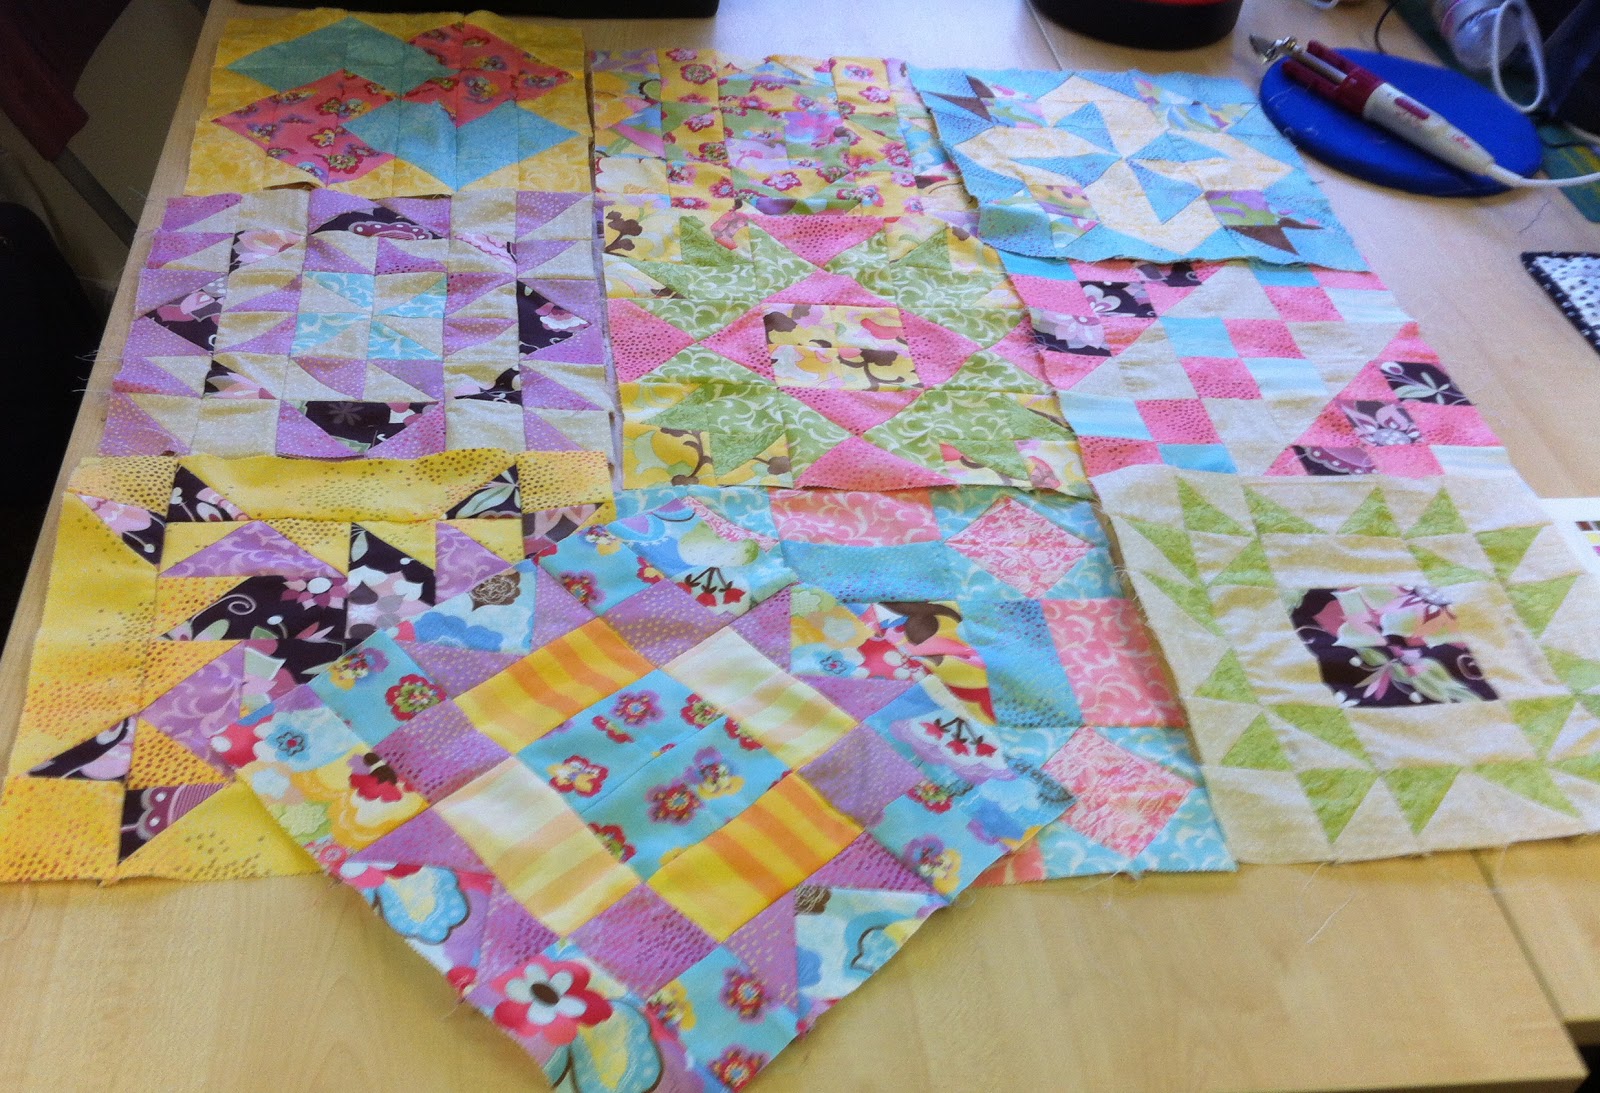
Beryl has been busy as you can see making a selection.
We did have a laugh with her though, as she brought an expensive magazine
because she liked the bag pattern in it (the pastel square one above).
She followed the pattern cut out the template and worked her way through
the instructions, only to find that the bag turned out 6.
A beautiful miniature bag!
The picture in the book was magazine page sized so led you to believe
that you would be sporting it on your arm!
not between your pinkies!
Its beautiful though and Beryl is going to scale the pattern up.
We are looking forward to the full size version.
See more bags by clicking on the written labels below.  

Wedding Anniversary Quilt


Jane is another Textile Tuesday Lady. 
She has been working on a Golden Wedding Anniversary Quilt for her parents.
The centre panel is a simulation of her parents wedding certificate,
machine stitched by her friend Lindsay
and then Jane has added the borders and finish. 
What a lovely and unique anniversary gift.
Jane's friend called 'Vintage Lin' also has a website and blog
 exploring vintage fashions and traditions.
It is a wonderful site for the 1940's and 50's.
Nostalgia with style!
Warms your cockles and ladies look like ladies!
You can email her if you would like your certificate stitched
or vintage fashion made.
Please use quilterscottagenorfolk as your referral.
 She then knows where the interest has come from.
Click
vintageinspirations

Sylvia's Quilt


This is Sylvia, one of the regular Textile Tuesday Ladies. 
She loves coming along to the sessions and is such an inspirational lady!
This is the quilt she has made for her Grand Daughter. 
The purple just sets off all of the strips of fabrics used.
Sylvia's Grand Daughter chose the design and it is one of those that is going to be timeless.
She has made it reversible too and the strips go through into the pieced binding.
It is going to make a wonderful gift that any of us would love to receive.
Well done Sylvia!
 She is now starting another quilt for her son,
 so I will keep you posted.
See more of Sylvia's work by clicking on the written labels below. 

The Art Room Dereham


Textile Tuesday and Thursdays are going well at 'The Art Room',  Dereham. 
The Tuesday sessions are 10am until 12.15 and 12.30 until 2.45pm.
You need to book so contact  me on 01760 337181 if you want to book or
find out information.
There is lots of inspiration and lots of sharing and laughter. 
The bottom photograph shows Jo demonstrating how to machine a buttonhole.
It's always typical though the machine decides to play up as you want to share!
After re threading and positioning it worked and perfect button holes. 
Lots of buttons are being used at the moment as you can see with future posts.
A time to sort out and play in the Button Box!
See more of my work on my portfolio site

Coven Quilters


Monday evening after teaching C&G I went to Coven Quilters. Kate showed us the two quilts she had made for her Grandsons and the backs were as good as the fronts! We always admire the depth of hand work and design Kate puts into her quilts. Joan has finished lots of UFO's and the third photo from the top shows her finished Sampler which we think she started about six years ago! Greta to see it finished and it looked great. Even though The Sampler quilt is a staple in the Quilting world everyone of them are different!
Jane showed her collection of baby quilts she had made and it was her birthday so of course we had birthday cake!
We always have such a wonderful evening and laugh and share throughout the evening. Best wishes for Barbara and Mike. 

Sparkly Red Finger Nails


Last week I needed a boost with all the snow, so I decided to have my nails done. I had been given a gif tcard of having them done at a new salon that has opened locally. It was to have them Shellaced. A hard wearing and immediately dry polish. I don't get round to painting my nails due to my hands being in paint, dye and modelling materials. This was an opportunity to go for it. Kim at Innovations Swaffham was lovely and as I browsed through the amazing nail colours I kept being drawn to the red sparkly and as it was the 25th I decided I would continue with the Christmas sparkle. I know it's a month later but we are supposed to remember it all year through. A lovely half an hour later and WOW! My nails have never looked so good. Thank you so much Irene for the gift and Thank you Kim for making them look so good. It's been a week and my nails are looking just as good and I will definitely have them done again.

Wednesday, 23 January 2013

Suffolk Puff Cushion


Here, is the completed Suffolk Puff Cushion. Lots of embroidery, beading and sparkles. 
Its in the blues and greens I just love.
The back is quilted with random curves.
I think I will make several little cushions to explore techniques.
See how to make The Suffolk Puff and an article I have written 
about them on a previous post. 
Remember to visit my tech site for videos HERE
and my art portfolio site for inspiration HERE

Suffolk Puffs or Yo Yo's?


I am teaching several different classes and at Creative Textiles we are making Circles and Curves over the next couple of weeks, in traditional and contemporary ways. Here, in a traditional patchwork form   is a sample of Suffolk Puffs.  It is the start of a small decorative cushion. I used a Clover Suffolk Maker which made the making of the Yo Yo's really fun and I have written another article for 'So Crafty' Magazine about making Suffolk Puffs and Yo Yo's.
See the article HERE
or click on the contents below,

  1. Clover Yo-Yo Maker
  2. Yo Yo Makers Demo - You Tube click to see video
  3. Clover Round Large Yo-Yo Maker
  4. Handmade Suffolk Puffs or Yo Yo's
  5. Suffolk Puffs or Yo Yo the Traditional Way click to see video
It would be great if you could have a look at the article and make a comment.


Friday, 18 January 2013

Wall Bag


I have been finishing off a bag that was made from a kit by 'Batik n Beads'. It hangs on the wall and is very ethnic in inspiration. The bag is a slashed fabric technique, Mock Chenille as we call it. Several layers of fabric are put together and stitched a quarter of an inch apart and then this is cut in between the stitch lines so that the base layer is revealed. You have to be very careful not to cut through to the base layer.
I used an Olfa Chenille Cutter and wrote a review article for a So Crafty magazine. Read the article and buy your own cutter HERE.

  1. Instructions for Making Chenille Fabric
  2. My Recommendation To Buy On Amazon
  3. Olfa Chenille Cutter click to see video
  4. Chenille Wall Bag using Olfa Chenille Cu...
  5. Additional Reading
  6. Chenille Book To Buy

The square is then hemmed with bias binding and folded together to form a bag. Beads and embellishments are then stitched to the bottom corners and a loop hanging for the top.
Visit Batik n Beads HERE